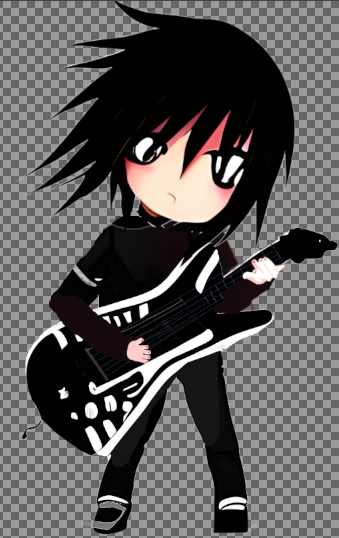
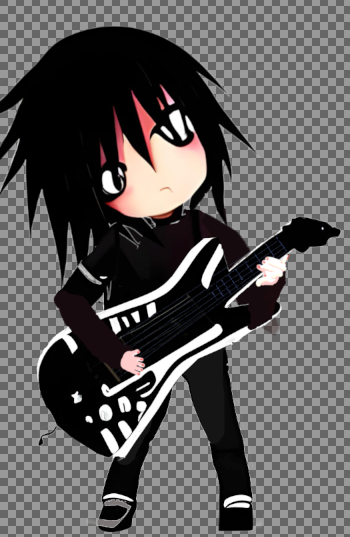
Making the character assets:
Each layer of the character is simply a transparent png with a fixed center of rotation (which we can mark later on)
All of these layers will be joined to one another and moved in whichever ways we command.

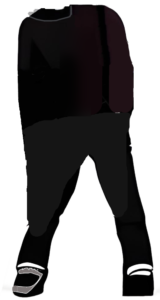
-Body
The Body will be placed right at the back of the character, and all other limbs will be fixed to some position on this layer.
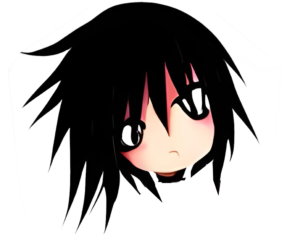
-Head
It might not surprise you to know the head is fixed to the top of the body, we’ll mark a center of rotation at the base of the head (where normal people might have a neck)
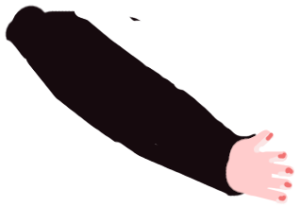
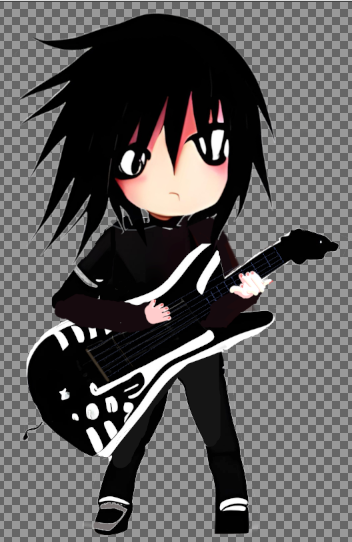
-Limbs
It’s up to you how many sections of each limb you include, it can become a little tedious as you’ll need a separate layer for each joint.
To save time I’ve included the legs as part of the body, but that means they’ll be constantly in place.
For the full range of movement you’ll want to include both upper and lower sections for each limb;
Possibly even go so far as to draw hands as a separate image, so your character has the freedom of wrist movements. It will be essential when it’s time to animate your virtual drummer!
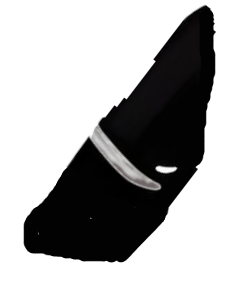

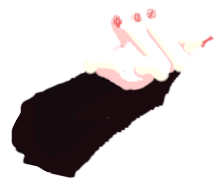
On guitar neck
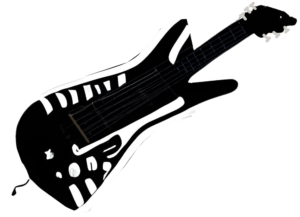
Simple is safer, so I’m sticking to basic shapes and a small color-palette
-Instruments
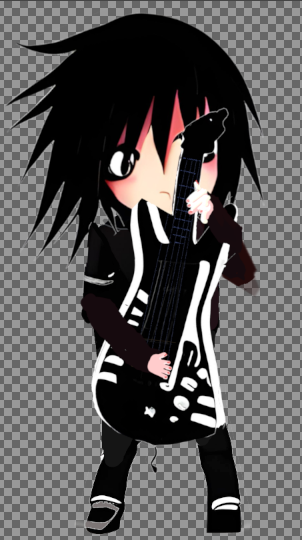
-Clothing/Accessories
This character already has clothes on his body, but he won’t be very fashionable if he’s always wearing the same thing.
Alternative layers can be added, and placed on top of the body, however you’ll likely need to modify the arms, or create a sleeve layer in order to have new clothes adequately blend with the limbs.
No example image as this demo doesn’t have any changes of clothes, but yours should.
Combining The Assets To Animate Our Character:
For now it’s okay to combine your layers in photoshop, gimp, paint.net, paintship pro, or any multilayer graphics processor of your choice.
Later on we will be handling this with custom python software, but layer them in the meantime to get a feel of the variety of poses your character can take.
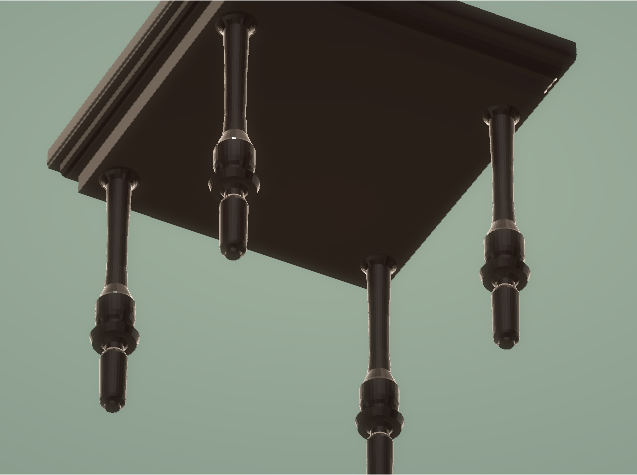
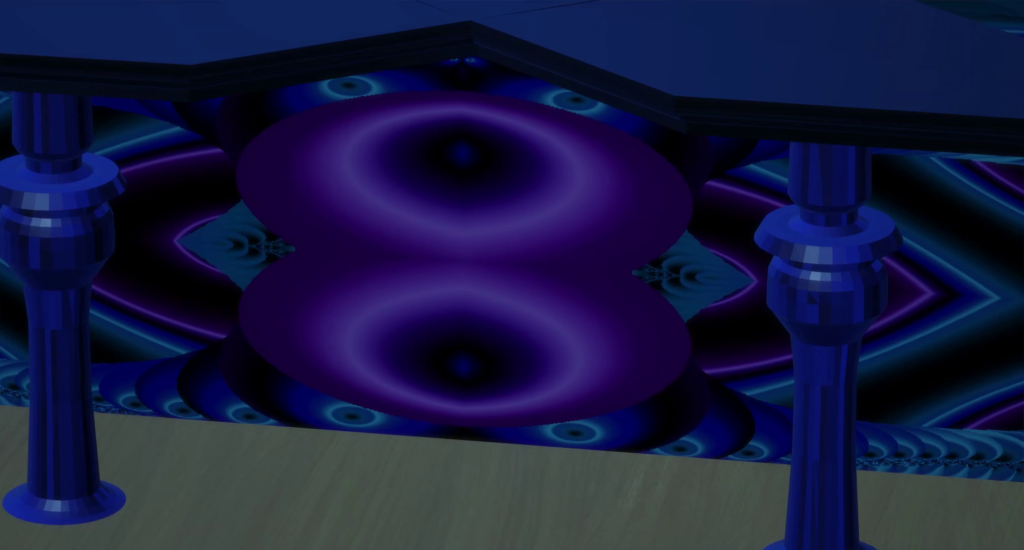
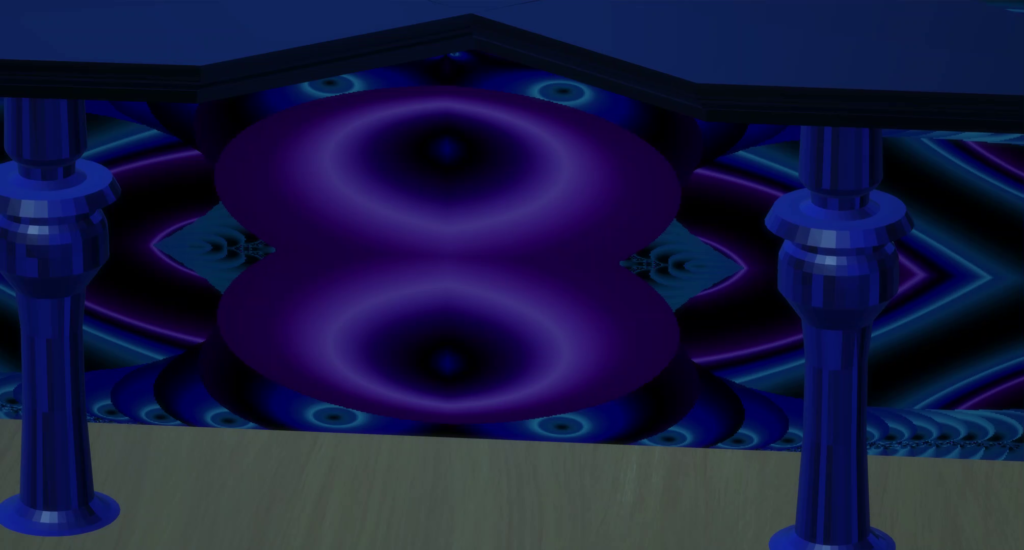
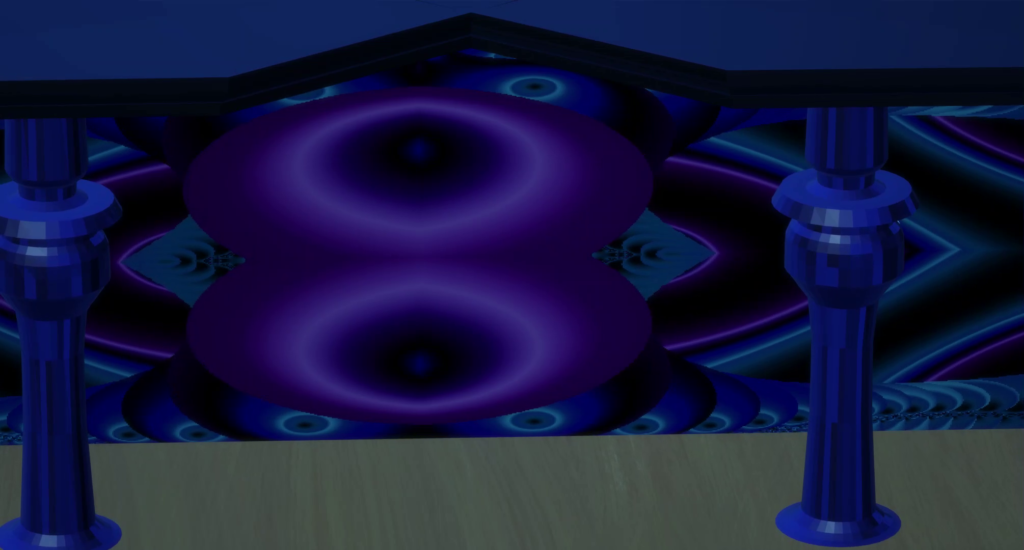
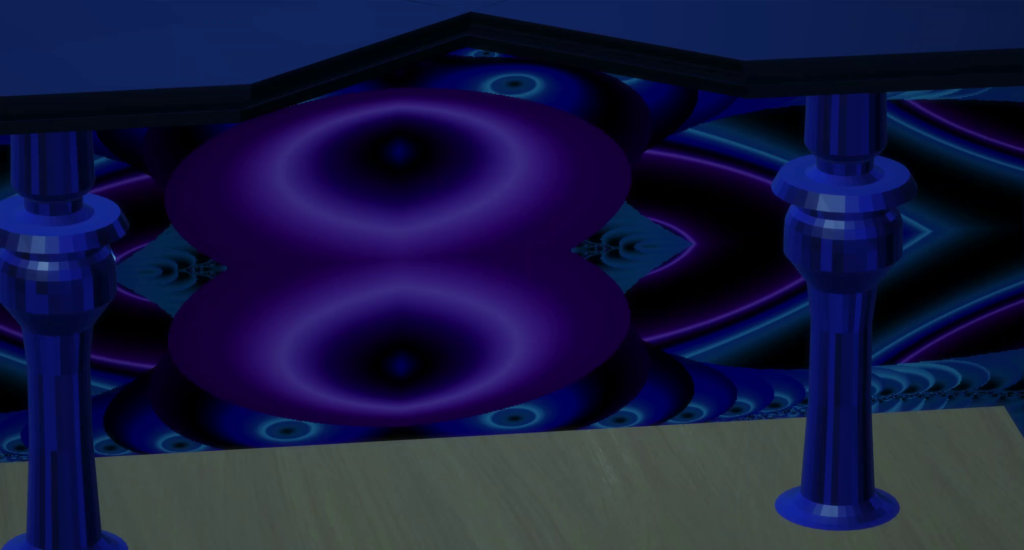
Backgrounds
Obviously we can’t just have a character on a transparent background.
I’ve just edited together a simple stage in Paint 3d and imported a few custom pillars which were originally fancy chair legs from my scheme extruder.

0